As all of you probably know, websites can be translated, so do our themes can be translated. In this tutorial we will teach you how to translate our themes with PoEdit.
First thing what we should do is download PoEdit. You can download PoEdit from this site – http://poedit.net/download. You don’t have to pay nothing, to get PoEdit, it’s completely free!
PoEdit supports versions for different OS (Operating System), I will choose Windows, cause I’m using Windows. After, you have downloaded PoEdit, it’s time to install it. Installation is easy, in case something goes wrong, then follow our “Installation Guide", else skip to “Translation Guide".
Installation Guide
- Press Next.
- Read License Agreement and press “I accept the agreement" and Next.
- Choose installation directory and press Next.
- Make sure “Full installation" is chosen, and press Next.
- Press Next.
- Press Install.
- Wait for installation to complete and your done!
Translating Guide
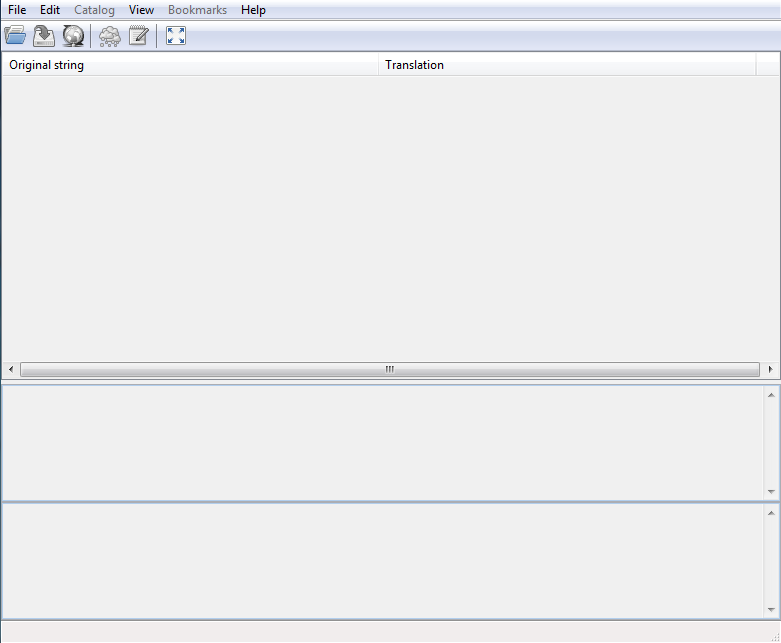
So far, so good! We are on Translation guide. First thing what you should do is start PoEdit. New window should appear.
Next thing what you should do is press File -> “New catalog from POT file…" and select theme_name.pot file (in my case bordeaux.pot).

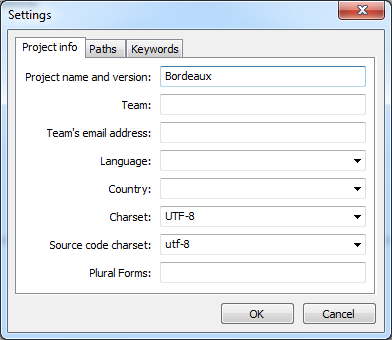
Press open, and new window should popup, there is main information of bordeaux.pot file, you can just skip it, and press “OK".
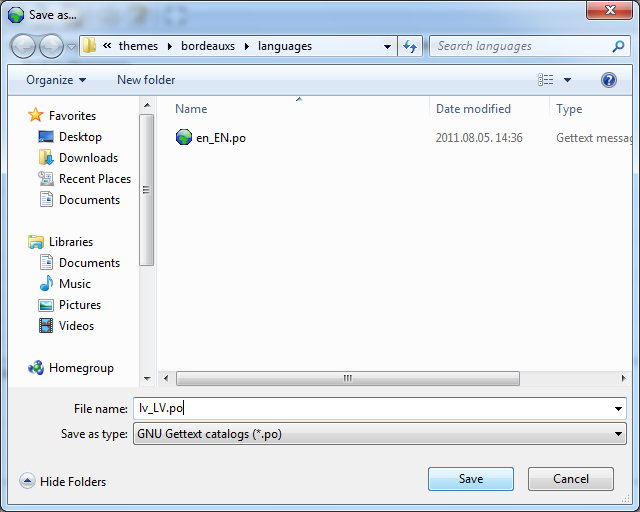
Now you should see new window, where, you must create .po file. Name your new file in this format – country code_COUNTRY CODE (where country code is code of your country) In my case it is lv_LV (latvian country code) and press “Save".
If everything is okay, you should see something like this.
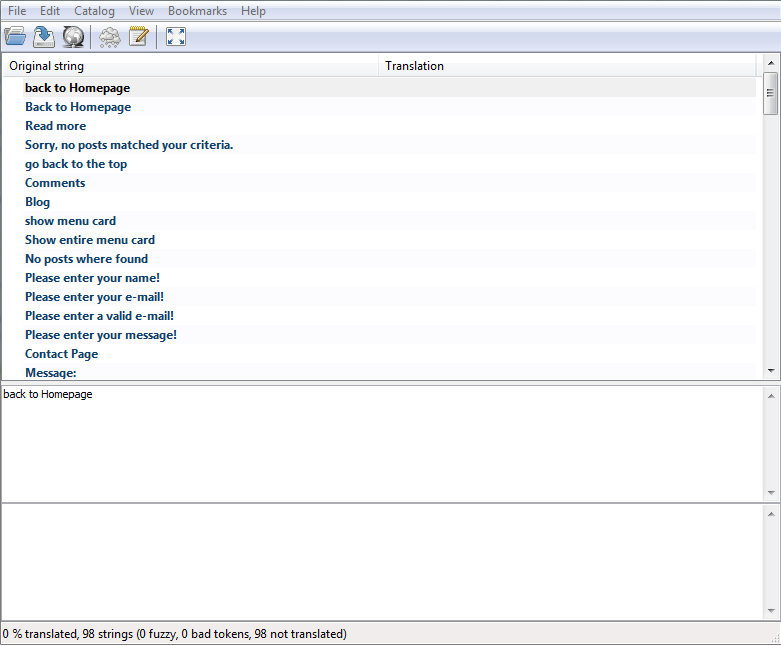
Remember! It may differ, from Theme you translate.
Now you can start translating theme.
To start translating, click on first “Original string" and put cursor in bottom textarea.
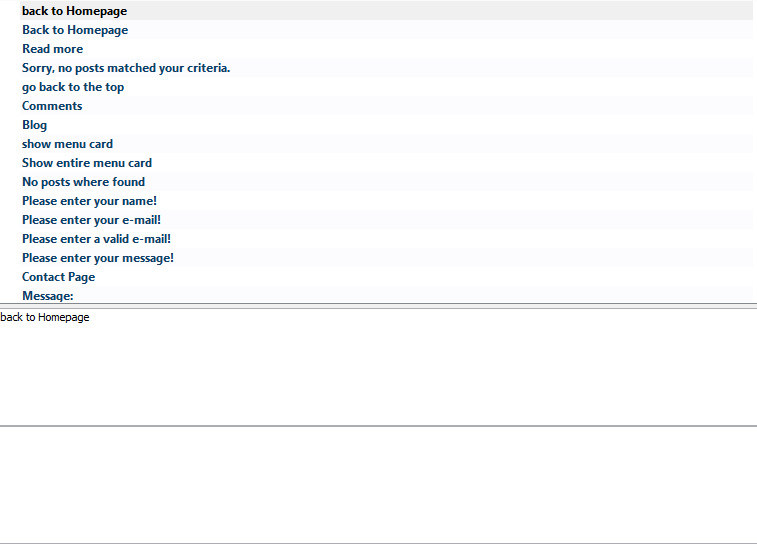
Now translate, the text from upper textarea to bottom textarea. For me it is “back to homepage", so I will write “translated “back to homepage" “, you don’t need to write translated “back to homepage", you need to translate it or change it to something else.
As you can see the new translated text automatically fills up in “Translation" next to “Original String".
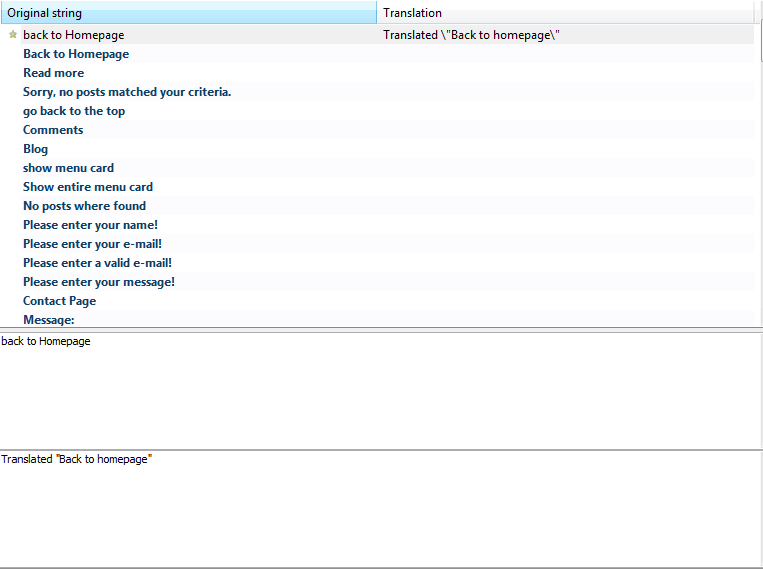
Do the following for all “Original Strings", and the end should look something like this.
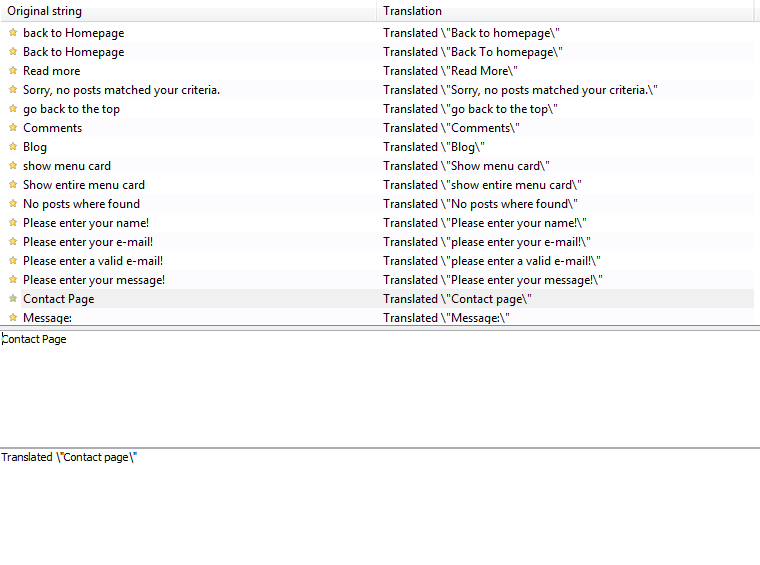
Now we need to save our translation, to do that, press “file -> save".
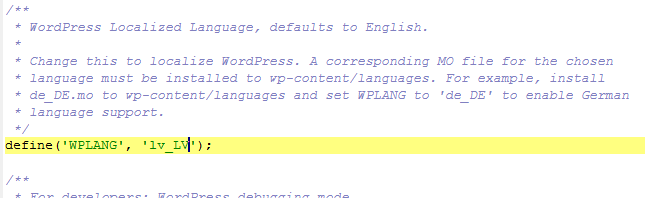
Next thing is adding translation to wordpress. For that you must go to wordpress root directory and search for file called “wp-config.php". Attention! You can edit .php files with all kind of editors, for example “Notepad".
Search for line something like “define(‘WPLANG’, ");", in case you can’t find it add it. now change the line to “define(‘WPLANG’, ‘lv_LV’);" , where lv_LV is file name of your newly created .po file ! Attention, don’t add .po to lv_LV in wp-config.php file!
Now save the file and check your website.
Everything should work great, in case it doesn’t, come back to tutorial, and check if you have done everything right.
Wish you happy translating!