Overview of Jetpack
Jetpack is a robust plugin that packs a diverse punch when it comes to monitoring traffic, website security, social sharing, subscribers, proofreading and searchability. If your website is lacking in any of these areas, Jetpack may be a good choice for you. Choose which features to turn on or off as needed and create a secure, searchable and shareable site for your users. With so many benefits, it’s easy to see why this plugin is used by over a million websites.
Installing Jetpack
Begin installing this plugin like you would any other.
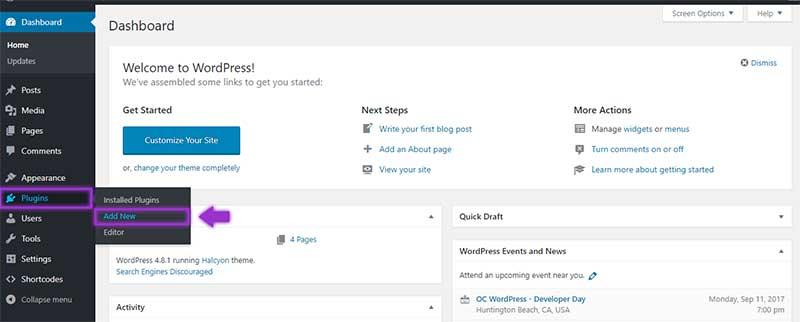
1. Access the Add New option via the Plugins tab in the WordPress menu of your site.
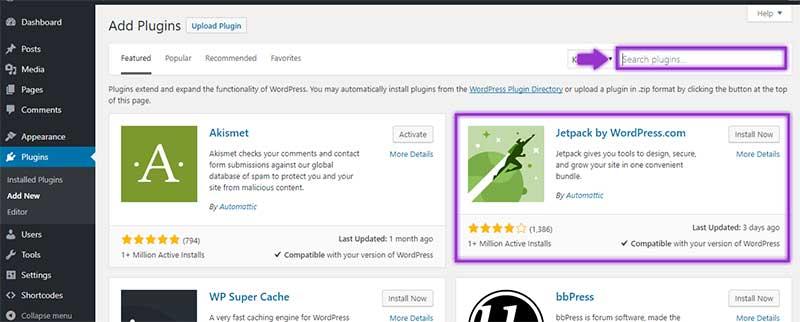
2. Search for Jetpack in the search bar (if the plugin isn’t already featured at the top).
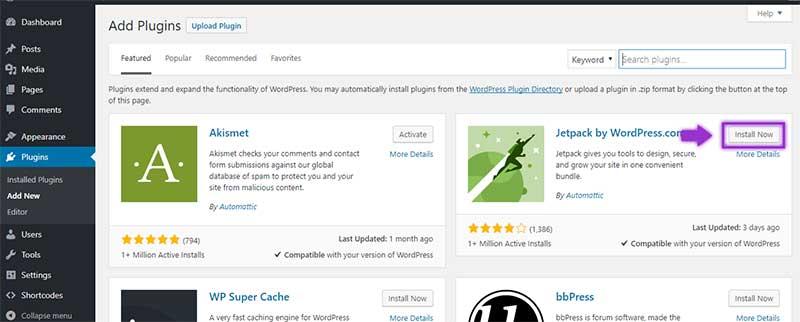
3. Click the Install button next to the description.
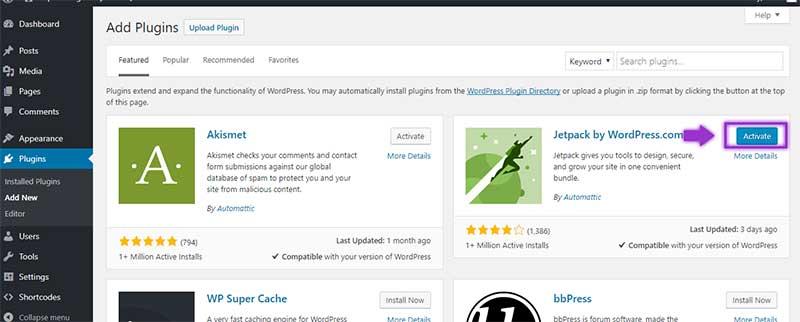
4. Once installed, click the Activate button to begin using this free plugin.
5. Next you will see a screen asking you to connect your new plugin to a WordPress.com account. If you don’t already have one yet, don’t worry. Click Connect to WordPress.com.
Many of Jetpack’s features are hosted through WordPress.com. In order to utilize those features, your site needs to be connected with an account. You can choose later to disconnect your site from WordPress.com, but at that time the Jetpack features will become unusable until reconnected.
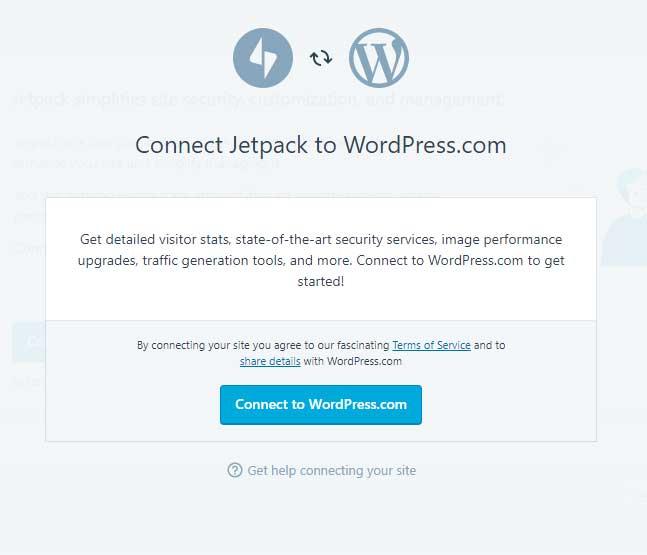
6. The following screen is the Jetpack Dashboard. It gives you more information about the plugin and its features as you scroll down. Click Connect Jetpack. Alternatively, there is a link just below the button where you can create a new WordPress.com account.

7. You will be directed to this screen where you can sign up or login with an existing account.
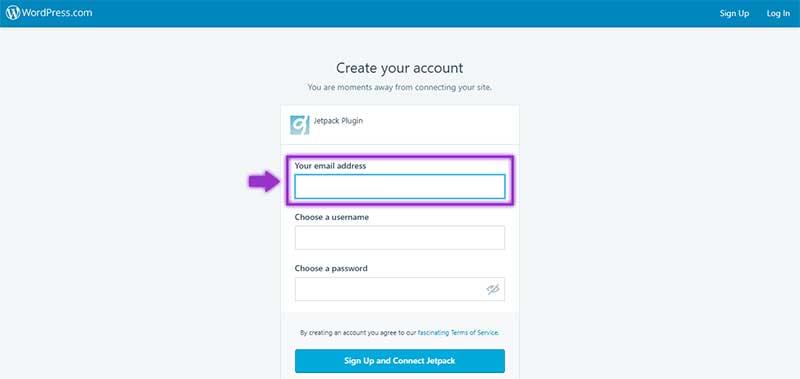
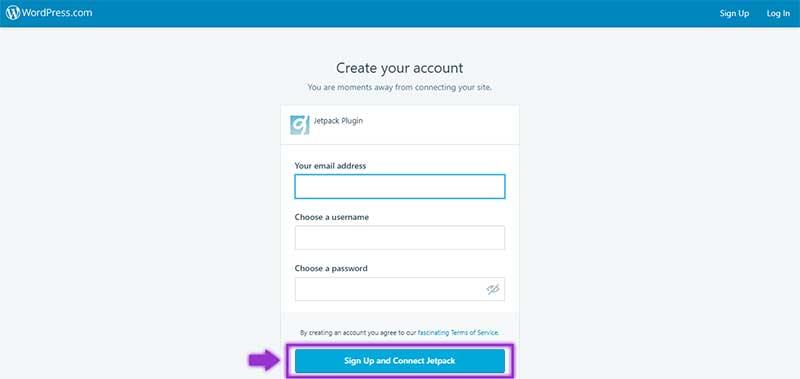
8. Add your email address, username, and password, then click Sign Up and Connect Jetpack.
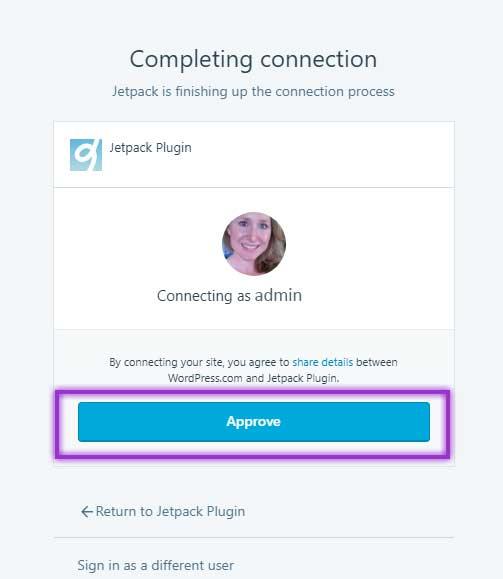
9. Click Approve to verify the connection.
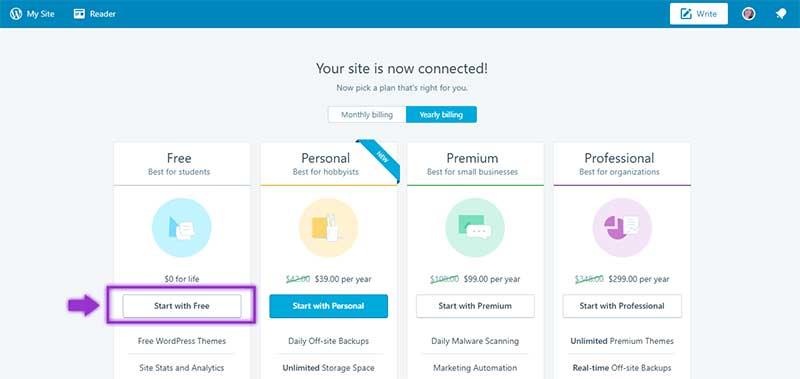
10. Once approved, you will be asked to choose which plan is right for you. Click on Start with free to take advantage of the free features. You can upgrade at any time for more options.
11. Next, choose Activate recommended features to start implementing the plugin.
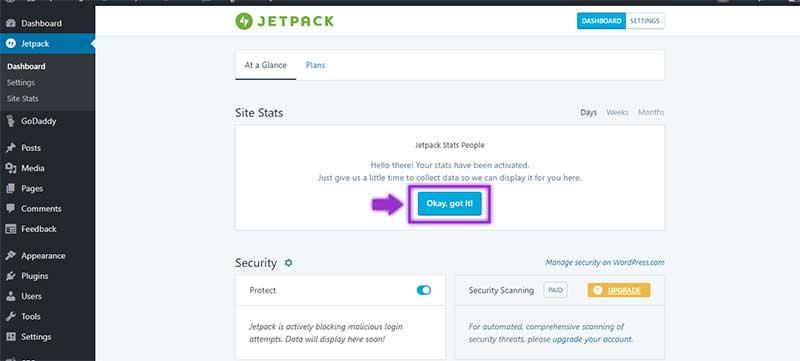
12. Jetpack will now begin to monitor traffic on your site, but will need a time to track the data. Click Okay, got it! to acknowledge the delay and see the new stat chart (no data yet).
Congratulations on finishing the tedious installation and activation of your new Jetpack plugin! Now let’s put it to work on your site.
Harnessing the Power of Jetpack
Jetpack contains tons of features. Let’s look at each one to determine which are right for you.
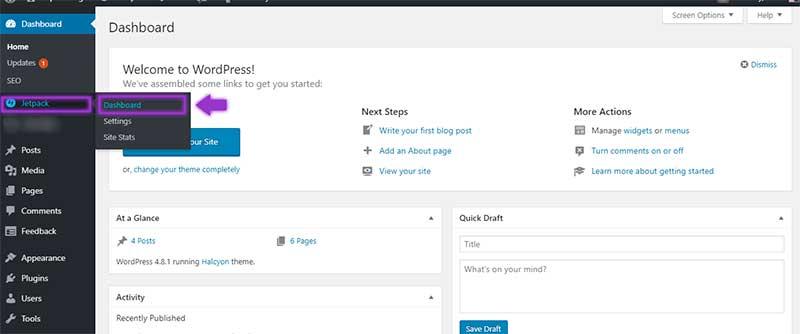
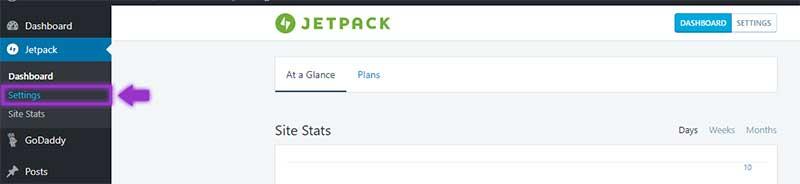
1. Access Jetpack from your WordPress dashboard by hovering your cursor over the tab on the menu bar. From the submenu, you can access the Jetpack Dashboard, Settings, and Stats.
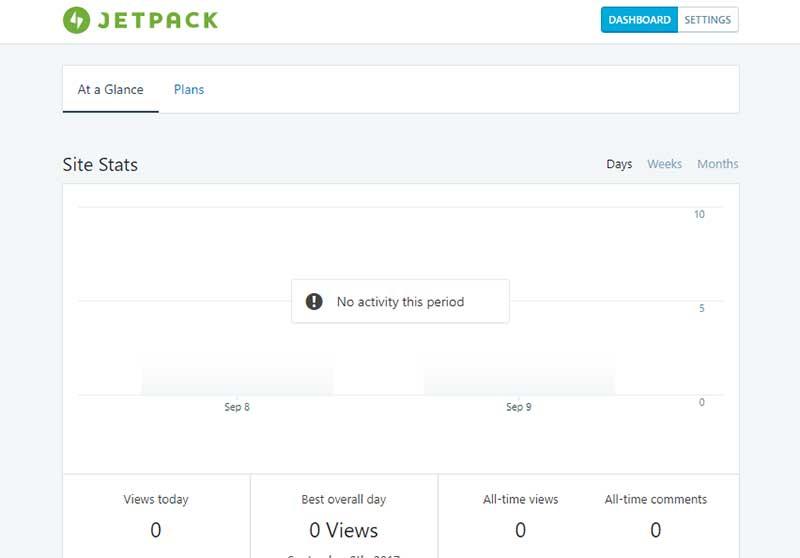
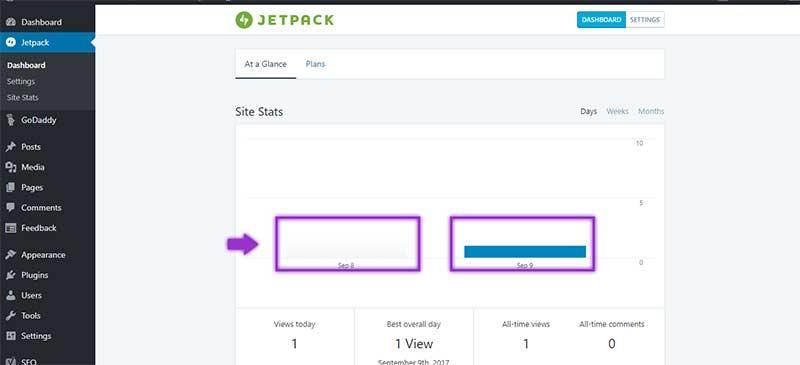
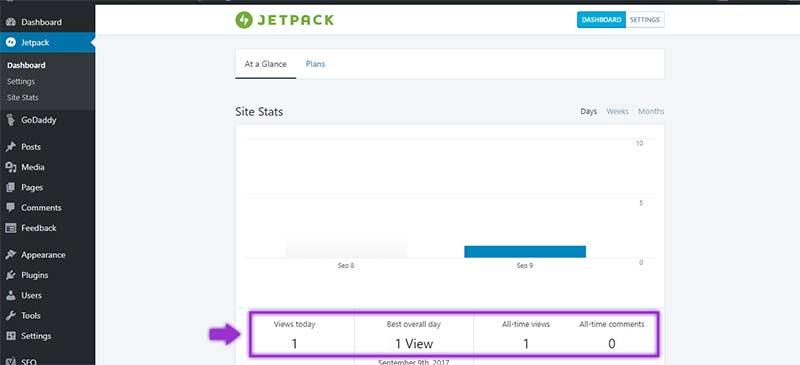
2. The Dashboard shows you brief updates about how Jetpack is functioning in different areas of your website. The first graph you will see on this page is for Site Stats, which displays how many pageviews your site experiences within a given date range. You can view the stats according to Days, Weeks, or Months.
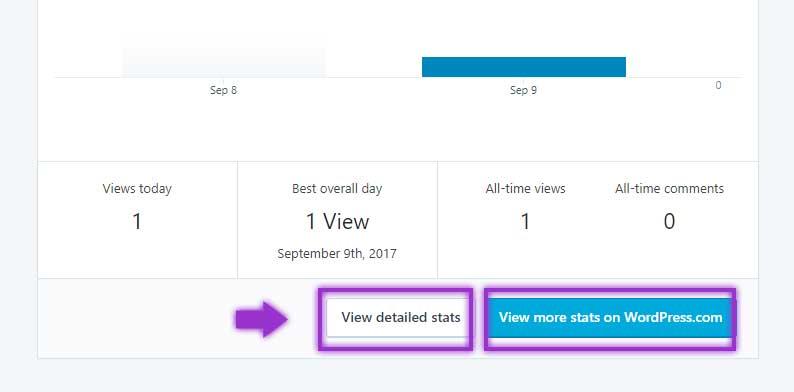
3. Scroll down your dashboard to find two useful links. On the left, the View detailed stats button will take you to a more detailed view of your site stats, while the button on the right will actually take you to WordPress.com in order to view the stats.
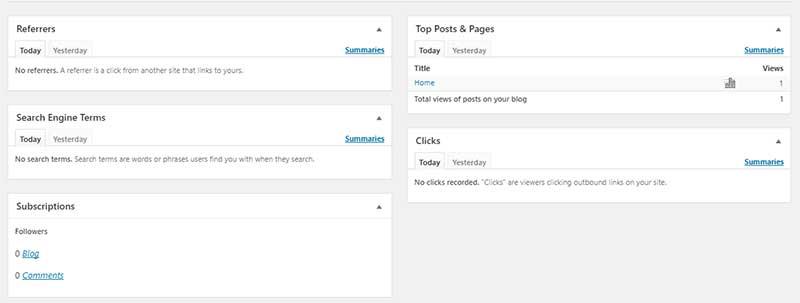
Click on the View detailed stats button to find options such as Referrers, which tells you where traffic is coming from (which websites or search engines are pointing visitors to your site), Top Posts & Pages, which ranks your pages according to the number of views, Search Engine Terms, which shows you which terms visitors are using to find your site, Clicks, which shows you how many people are clicking links within your site, and finally, Subscriptions, which will let you know how many people have subscribed to your blog or to specific comment threads.
Click the Summaries link on the right side of each are to view more information about these stats.
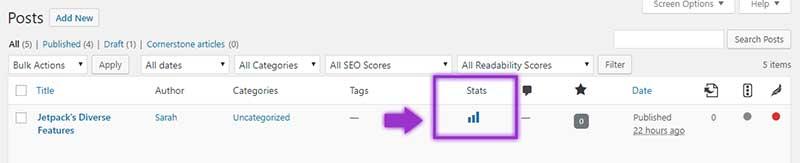
Note: Jetpack enables a new option to view Stats for an individual post or page. Access All Posts or All Pages to find your published content, then click the graph icon to view the detailed stats for that item.
The stats are a very helpful addition to your website to help you monitor your traffic sources and behaviors. It’s especially helpful if you are not already using another plugin such as Google Analytics.
Now that we’ve covered Stats, let’s look at the other amazing features Jetpack offers for free.
5. Back in your Jetpack Dashboard, scroll down past the stats graph to find a brief overview of the Security features. Some of these features require an Upgrade (paid) to use, such as Backups, Spam Protection, and Security Scanning. You may upgrade at any time if you choose. For now, we will focus on the free options.
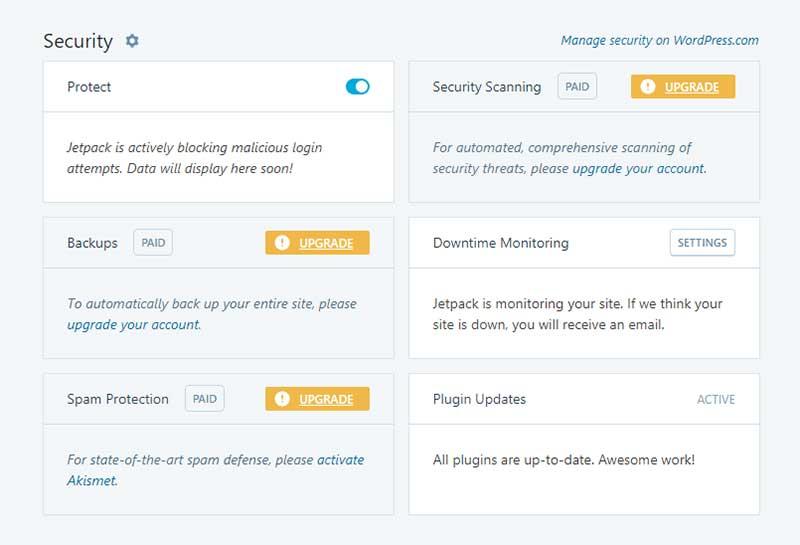
6. You can toggle off the Protect setting at any time to stop using it. It helps block suspicious login activity on your site, such as repeated failed login attempts. Downtime Monitoring will send you an email when your site is down. Click the Settings button next to the name to choose which email address is used. The Plugin Updates section will let you know if there are any plugins in your site needing updates.
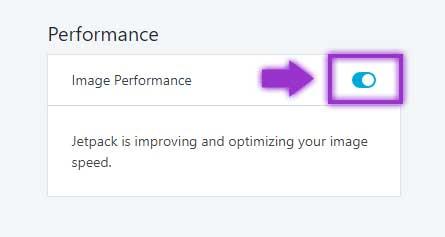
Scroll further down the dashboard to see Performance. You can toggle this option on or off at any time. It simply optimizes the speed at which the images load on your website.
7. Next, you will find the Connections box. Click Manage site connection to turn on or off your website’s connection to WordPress.com.
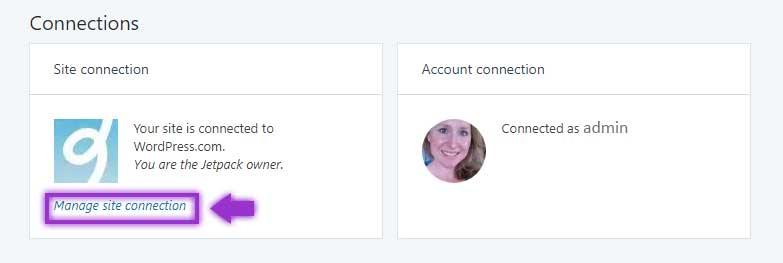
8. The dialogue box will allow you to choose to Stay Connected or to Disconnect from WordPress.com. If you disconnect from WordPress.com, many of Jetpack’s features will be unavailable to you.
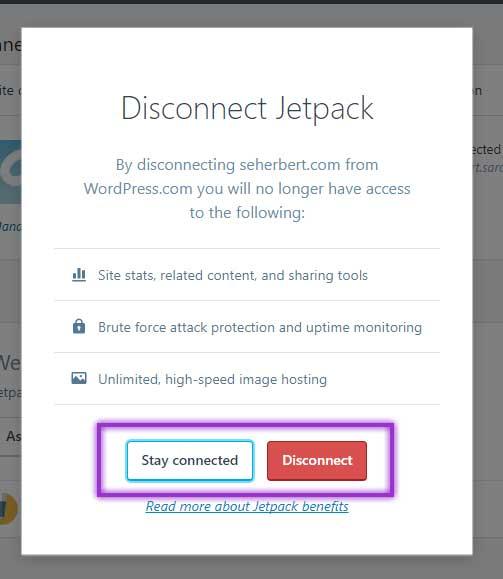
Choose Stay Connected to retain your Jetpack settings and return to your dashboard.
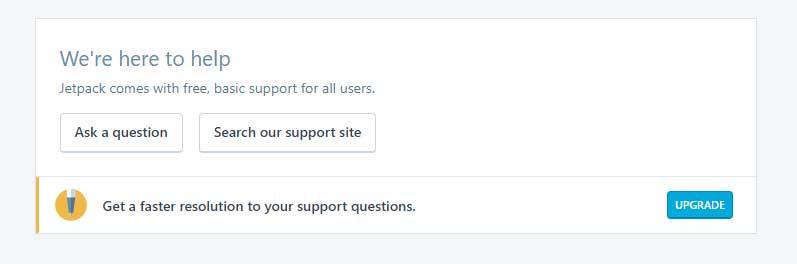
9. The We’re here to help section will allow you to ask questions or find help on the support site.
Choosing Your Settings
Up to this point, we’ve looked at the Stats and the Dashboard for a quick look at Jetpack features. Let’s move to the Settings tab, which will give us an in depth look at each of the features offered.
1. Access the Jetpack Settings through the navigation panel.
2. The Settings page is where we discover the heart of Jetpack. This is where you can choose options and make changes to its features in the following categories: Writing, Sharing, Discussion, Traffic and Security.
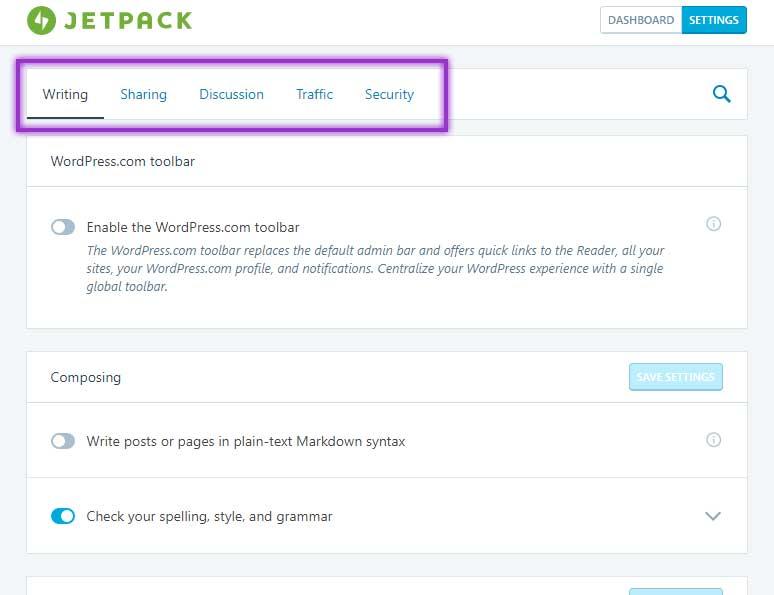
3. The tab to open by default is Writing, where we can utilize options related to the content we publish on the site.
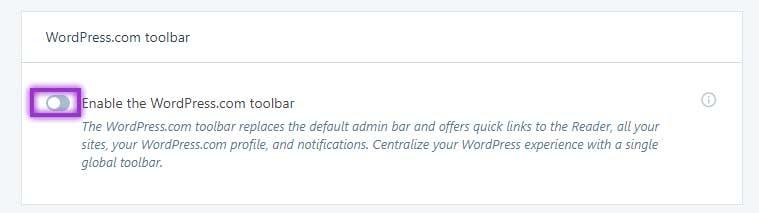
4. Toggle on or off the Enable the WordPress.com toolbar option to change your default toolbar to one optimized for publishing.
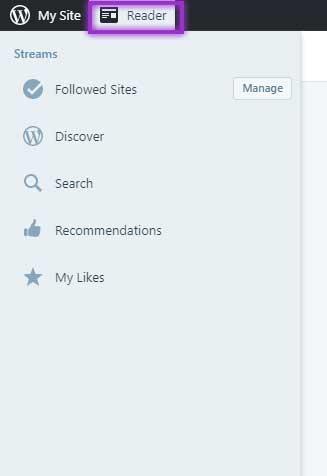
With the new toolbar, you will have My Site and Reader tabs for easy navigation.
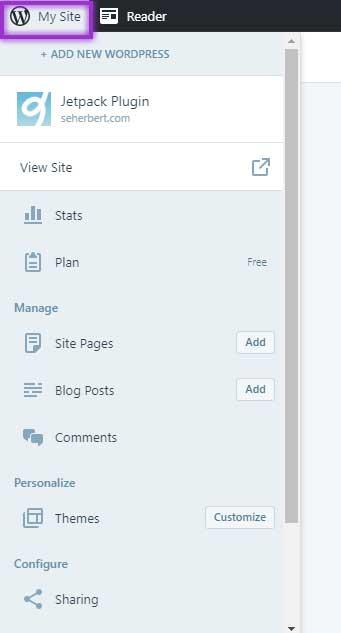
You will also have a link to Write a new post. This will redirect you to a new post on WordPress.com.

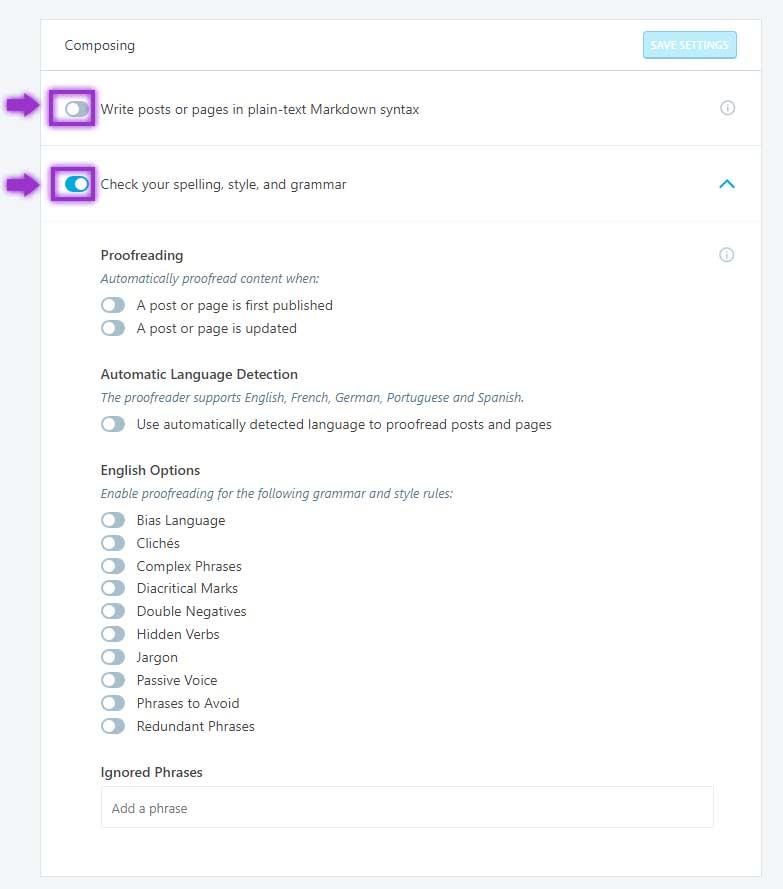
5. The next feature in the Writing tab is the Composing section. Here you can toggle on or off whether plain-text Markdown syntax is used (see the information icon on the right for more information), as well as a variety of Proofreading options.
Choose when the proofreading occurs, if other languages are detected, and which types of grammar and style rules are detected in the proofreading process. If there are phrases you frequently use that are flagged in the proofreading process, add them into the Ignored phrases text box.
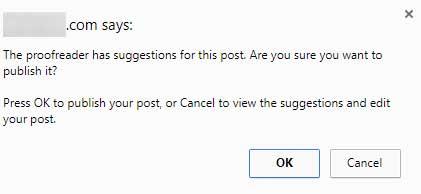
If there are misspelled words or rules being corrected, they will be underlined in red when you are editing your post. You will also see a dialogue box appear when you try to publish or update your page.
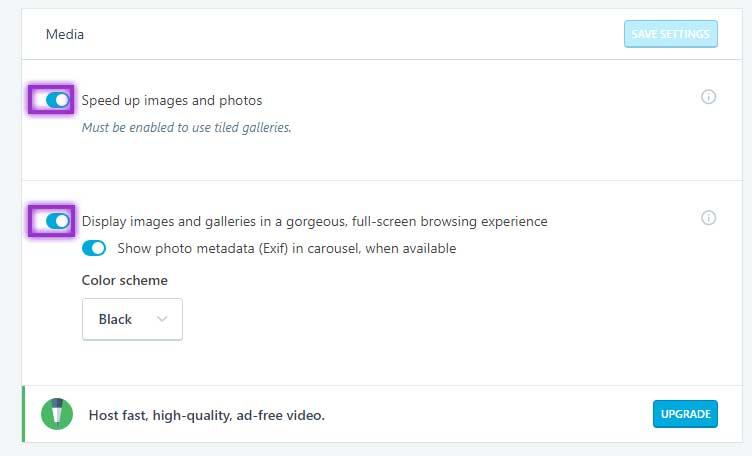
6. The next option is Media, in which you can toggle on or off the optimization of images, as well as metadata display options for full-screen image viewing.
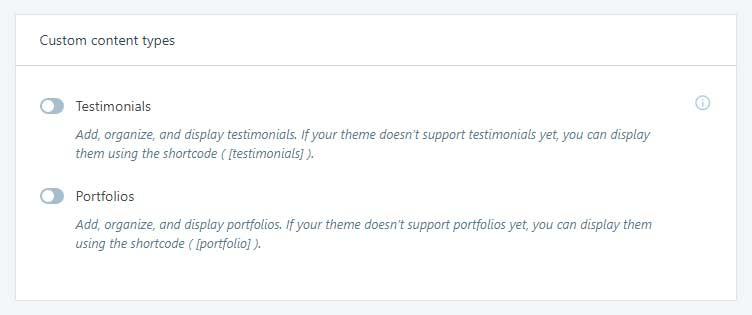
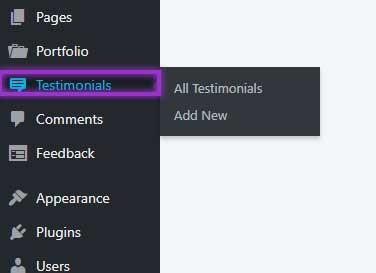
7. Custom content types allow you to add Testimonials and Portfolios to your website.
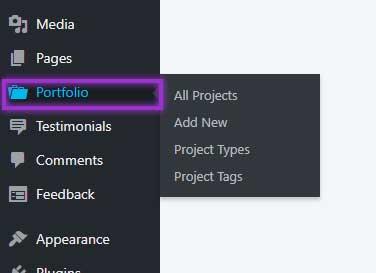
If the portfolios and testimonials are toggled on, two new tabs will be added to your navigation bar.
Note: If your theme doesn’t support the use of these features, add the shortcodes [testimonials] or [portfolio] in your posts or pages.
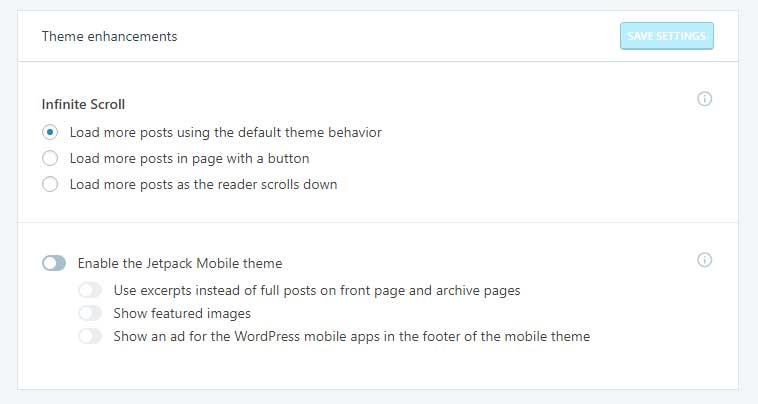
8. Theme enhancements enables infinite scroll through automatic loading, buttons, or default theme behaviors. It also enables a special theme for mobile devices.
9. If you choose the option to Post by email, then you will be able to create a new post on your site simply by sending an email. Click Create Address to generate a unique email address to which you can send your post emails.

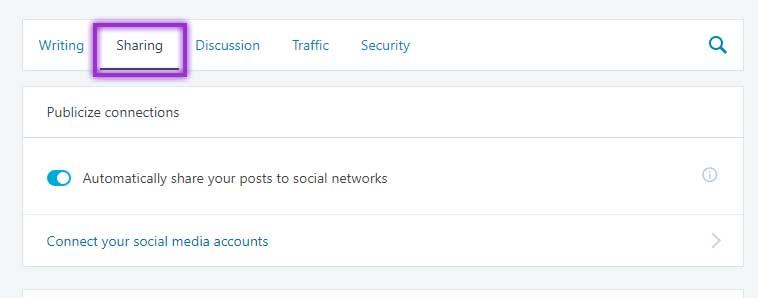
That’s it for the Writing tab! Next, let’s look at the Sharing tab!
1. The first option under the Sharing tab is whether you want new posts to automatically push to your social media accounts. If so, click Connect your social media accounts to get started.
2. The Sharing and Like buttons, if enabled, will automatically add the option for visitors to like and share your posts.
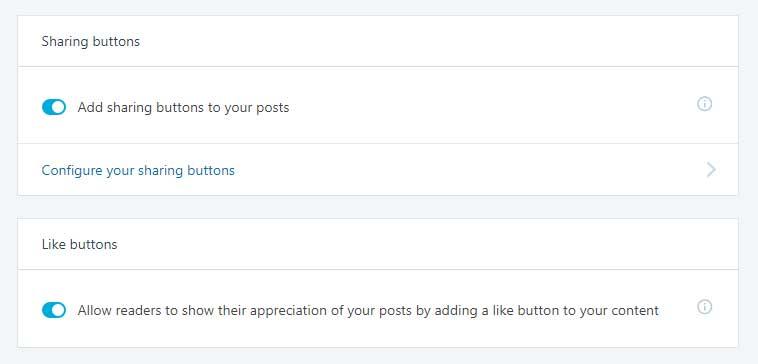
This was a very simple tab that helped you start sharing your content! Let’s go to the Discussion tab.
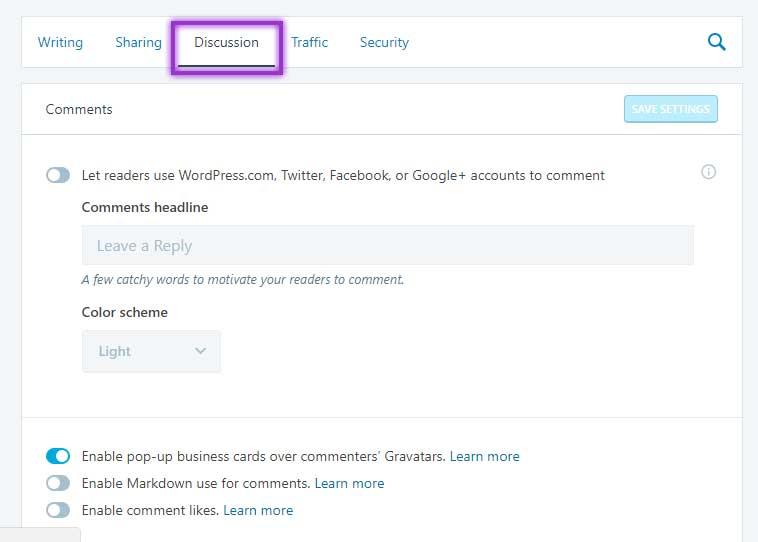
- In the Discussion tab, we find options for comments. Choose whether or not to enable users to comment by logging in through their social media accounts. This replaces your default comment system and enables them to use their existing accounts without membership to your site.
- Also customize the headline above the comments section, for example, “Leave a Comment" or “Add Your Thoughts Here."
- Choose whether or not to enable business cards through Gravatar, use of Markdown in comments, and comment likes.
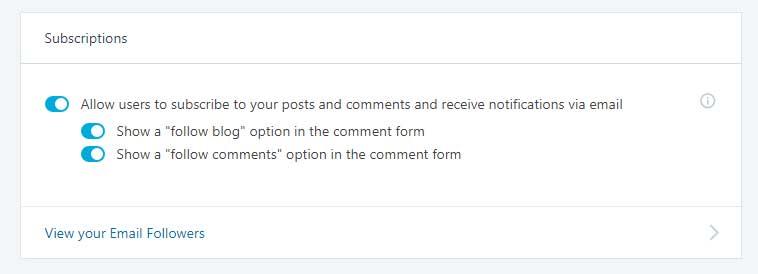
1. Subscriptions allows users to subscribe to your site’s blog and comments from users.
Let’s take a look at Traffic options now!
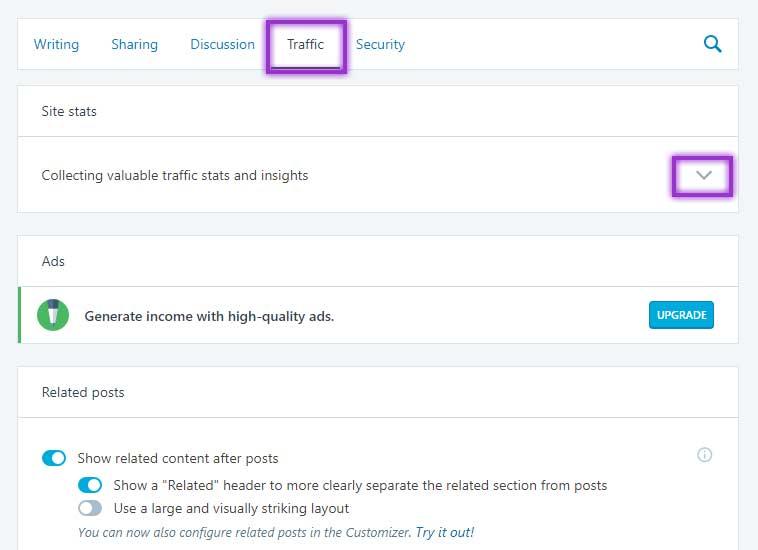
- Under the Traffic tab, you can extend the Site stats options by clicking the arrow on the right side. You can choose whether or not Administrators or other users are counted in page views.
- Choose whether or not you want to Upgrade to include paid Ads on your site for income.
- Related posts are also optional to appear below your posts.
1. Search engine optimization and Google Analytics both require a paid upgrade in order to use.
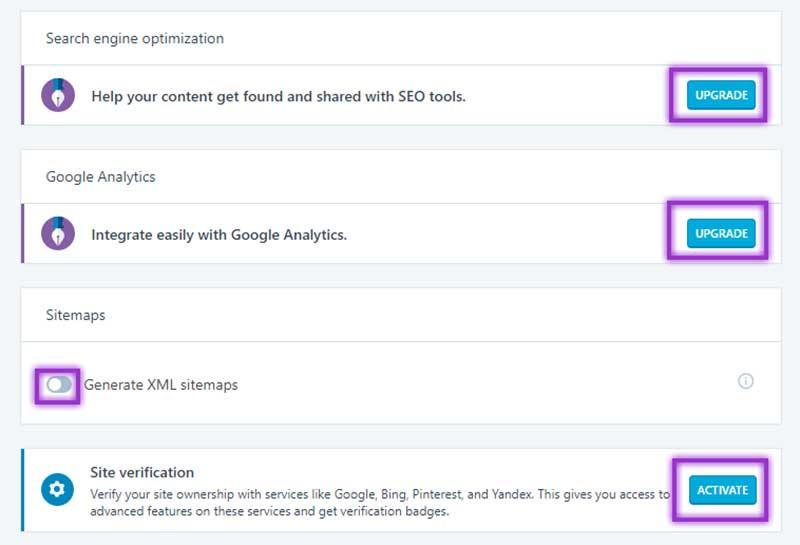
2. Sitemaps are optional, but if toggled on, Jetpack will automatically generate a sitemap for your site and will send it out to search engines for you.
The link to your sitemap will appear once Jetpack has generated it.
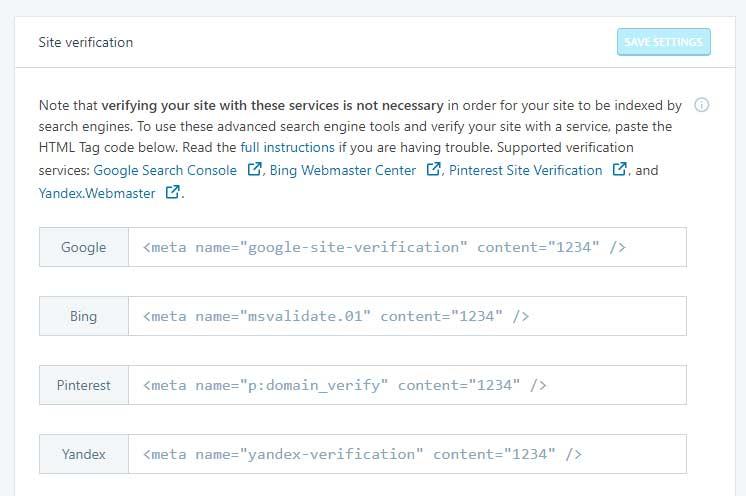
3. Site verification is useful if you want additional webmaster tools through search engines.
Click Activate to toggle more options and for more information about each service if you choose to use them. Each one is free and offers more insight about how your website is performing with each service.
On to the final tab: Security.
The first option under this tab requires an upgrade in order to use. Backups and security settings
may be something you want to consider in the future as it includes support, site restores, high-quality video hosting, scheduled social media posts, malware scanning, backups, and an ad program. All premium features.
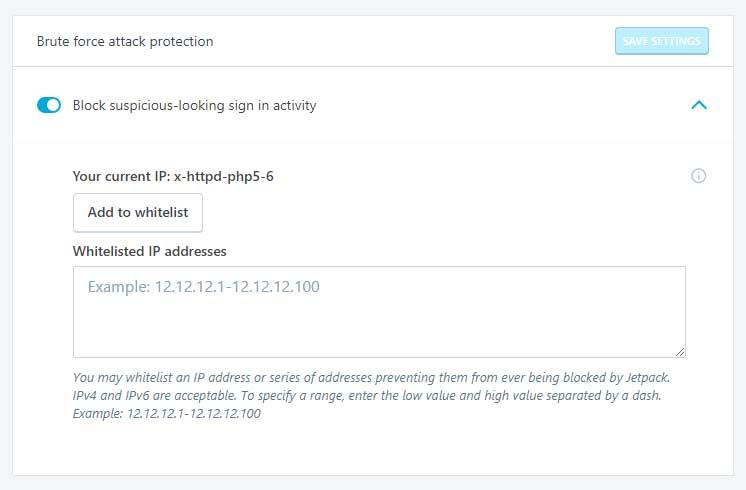
2. Brute force attack protection is next. This option will enable Jetpack to block suspicious login activity on your site.
Other options can be found by clicking the arrow on the right side. If you have failed the login too many times, such as by using the wrong password, Jetpack may not allow you to login. This is great for hackers who try a lot of passwords. Jetpack will block them. But it’s not good for you. Add your IP address to the Whitelisted IP addresses in order to keep your computer from being blocked by Jetpack.
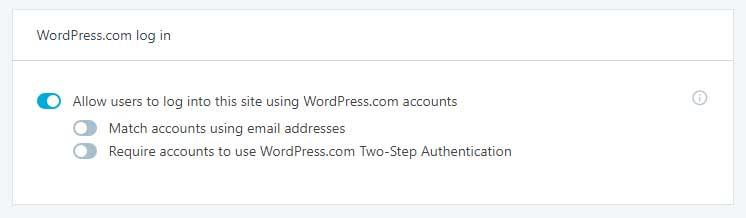
3. The final option is WordPress.com log in, which will allow users to log in with their WordPress.com info instead of creating a new account on your site.
That completes the Jetpack tour! Hope you enjoyed exploring the various facets of this diverse plugin and how it can be used on your website. You may not need every feature, but it’s quite possible your current array of plugins has missed a few of the bases covered by Jetpack. Perhaps it could even replace a few you’re already using.